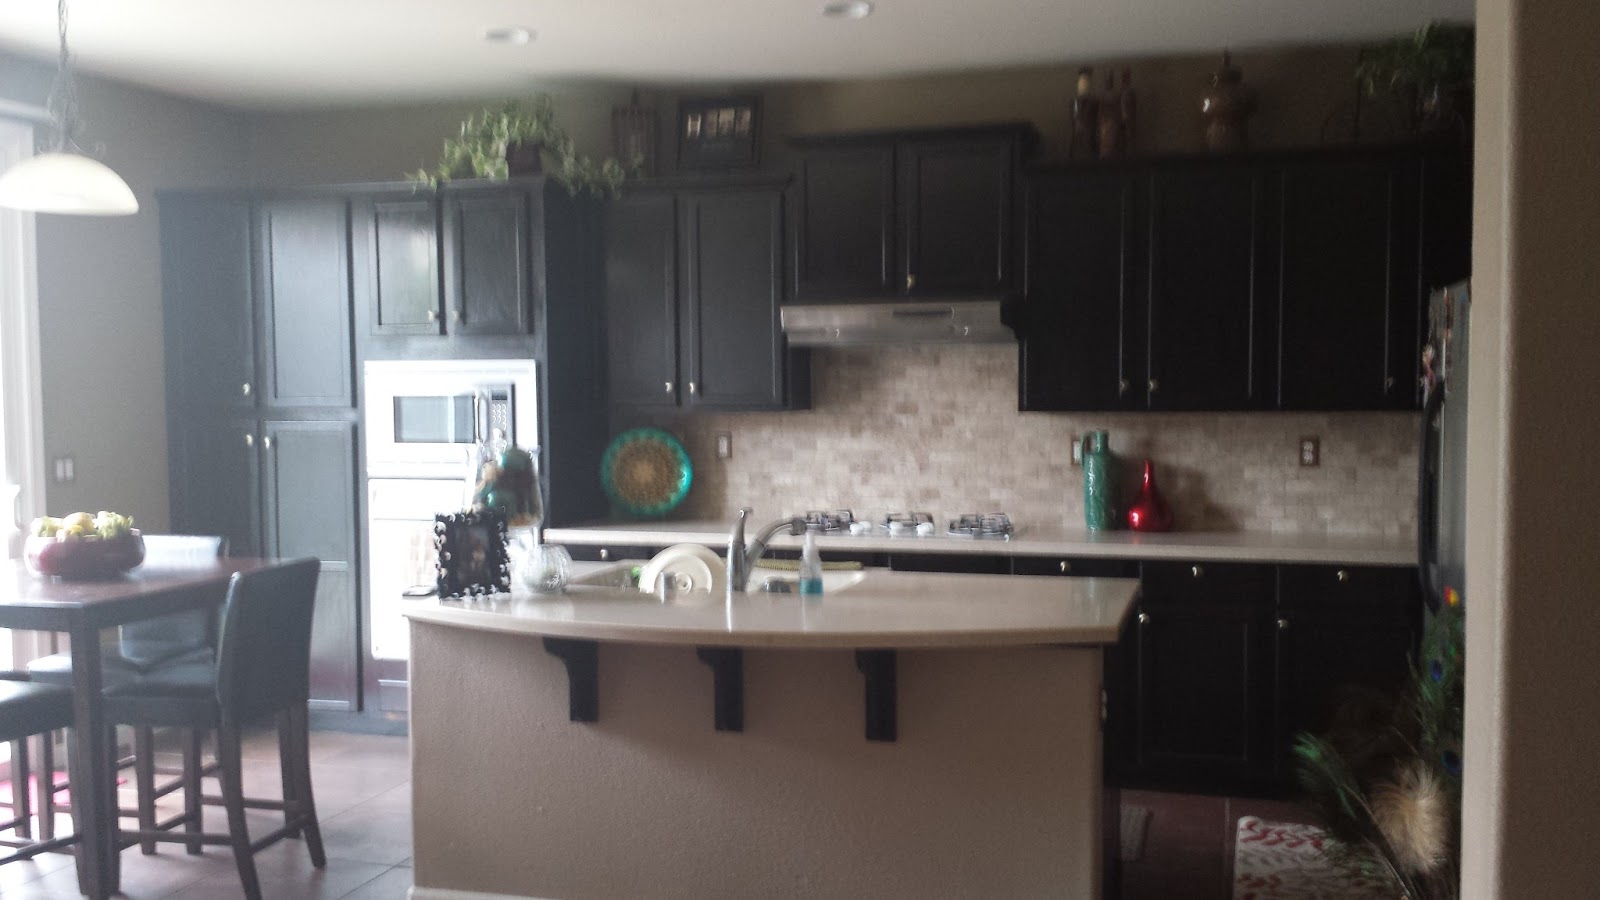
It has been a little over a week
since we started our DIY Project: Kitchen Revamp.
It was time to give our kitchen a face lift, and we wanted to do it on a budget. With help from YouTube, the DIY Network, HGTV, and tons of Google searches, we came up with a plan and then decided, we're just going to go for it! Once we got started, we really relied on the help of professionals at Home Depot also. They were incredibly helpful!
Since I was too exhausted to post
each night, below is the whole schpeel. Keep in mind there are a TON of
ways to stain and retile your kitchen based on people's experiences and/or
expertise. We are not experts. We are simply two folks
who are semi-handy, and had an ambition to get it done! We also did this solo -
just the two of us, with no outside help, professional or otherwise. I recommend a lot of research
ahead of time, especially when it comes to retiling a back splash as it requires
special tools, precision cuts, etc. Even with stains, there is a huge variety out there, find what will work best for you (water based, oil based or gel stain, etc)!
Keep in mind that all the steps,
tips and advice I give in my blog are based on my experiences, what worked for
me, and the products I liked. What worked for me, may not work for you.
No one is
paying me to talk about his or her products. That being said, if we didn't already have it, borrow it, or buy it at a garage sale, most of the items we bought for this project were bought at Home Depot. I've always preferred Home Depot and there's one close to our house. And as you may know, you'll always forget something and will be running back and forth to get it! It's convenient to have a store like Home Depot nearby. This was also part of the reason I opted for a stain I could buy in person. I saw many pins on Pinterest boasting about General Finishes Java Gel Stain. Problem was, it isn't easily accessible in California and I didn't want to buy too many online all at once or not buy enough. After doing a lot of research, I decided to go with an oil based stain that Home Depot carries: MinWax's Polyshades in Espresso Satin.
I wanted something dark, almost black, but not quite. I also wanted something budget friendly because a bulk of our DIY Project: Kitchen Revamp budget was going toward the new stone backsplash. In my research, I learned that after applying 2-3 coats of stain (any stain), you have to apply 2-3 coats of polyurethane on top it, with the same 6-8 hour dry time as stain has. Geez - that was going to take forever! Then I learned of Polyshades which had the stain AND polyurethane mixed into one! Score! I decided to go with MinWax's Polyshades in Espresso Satin. I do not recommend using a gloss, personally. Satin's are
shiny enough; a gloss stain would be blindingly shiny. My thoughts anyway...
Here are a few of the items we used
in this project:
- Cleaner (to remove old buildup residue on cabinetry) - I
created my own!
- Scotch Brite scouring pads
- Orbital sander, orbital sander sandpaper (it's round and fits on the orbital sander, different than regular sandpaper) and 220 grit sanding sheets (regular sandpaper)
- Dust Masks
- Chiselers (manual and air
powered)
- Mallet
- Leveler
- Drill
- Measuring tape
- Screwdriver
- Paint stirrers
- Paintbrushes
- Roll of plastic
- Rags
- Butcher paper
- Extension cords
- Compressor
- Minwax Pre-Stain Wood Conditioner
- Minwax Polyshades Stain in
Espresso Satin
- New stone
backsplash
- Wet
Saw
- Mortar
- Grout
- Sealer
DIY PROJECT: KITCHEN REVAMP
Here are a couple BEFORE pictures...
 |
| Everything has been removed! |
Day 1 (Thursday): After working at our full-time jobs, we
came home and removed everything from our kitchen, including emptying all the kitchen
cabinets and removing anything on the counter tops. After, we cleaned and disinfected. This important step needs to be
done before sanding and staining. Stain will not adhere to oil residue
buildup, grease and food particles that often cakes cabinets from years of
cooking, and use. We wiped our cabinets down with a natural cleaner I made from a post I pinned
on Pinterest using Scotch Brite scouring pads, which work well without being too
rough on wood surfaces, as steel wool can be. To learn more about the
natural cleaner recipe I used, visit the link above or click here. Since we got a late start after working all day, and since this prep process took so
long, we called it a night.
 |
| And is now sitting in our formal dining room area |
 |
Everything has been sealed! Butcher paper
and plastic have been laid down to protect surfaces
we don't want stained
|
Day 2 (Friday): After working all day, we
came home and began taping off the edges of the cabinetry (similar to taping off
edges when applying paint), and laid down plastic and butcher paper to protect the surfaces we didn’t want to be
stained. We also sealed off the kitchen
from the rest of the house. Side Note: No matter
how much you seal the rest of the house from the kitchen, sawdust will get
everywhere. Sealing still makes a huge difference, so don't skip that
step, but know you will still need to wipe down essentially everything in your
house that isn't separated by a sturdy door (i.e.: bedrooms should be okay). Emptying everything from the cabinets is important. You do not want all your plates, cups, and
food covered in sawdust.
Once we prepped the area, we removed all the doors, drawers, hinges, and knobs. Then we put all the doors and drawers into the garage onto several folding tables we had set-up. Side Note: I recommend putting all your hinges, knobs, screws, etc. from dismantling the doors into a Ziploc bag and in one of the empty cabinets for safekeeping. Your home will be a construction zone for the next few days or weeks and things can easily get lost!
Then
we began sanding! Sanding was easy, just tedious. We used an orbital sander we bought at a
garage sale for a fraction of its retail cost.
Score! We also borrowed another from a friend. Thanks Faz! Having two orbital sanders helped
speed up the process quite a bit. I
couldn’t imagine how sore my arms and hands would be from using a hand sander for
hours, and hours, and hours. No, thank
you! Get yourself an orbital sander, it will make a world of a difference! Side Note: Your hands will have a weird vibrating sensation even after you turn the machine off. It caught me off guard. Ha!
 |
| Sanding late into the night. ZZZZZZ's.... |
Day 3 (Saturday): It was “D” Day! “D”
for DEMO that is! Before we could apply stain to the cabinet frame still intact
in the kitchen, we needed to demo all the old white tile back splash. No one wants construction dust from demoing
anything landing on his or her freshly stained first coat. Demoing the old tile back splash was a very
long, tedious and tiring process. My
husband primarily took on this task. He
started with a hand chisel and mallet, as recommended, but we quickly learned
that we would be here for 10+ hours chiseling away by hand.
Side Note: Most homes have plywood, a layer of foam insulation, mesh to
keep it all in place and then a coat or two of drywall (or something along
those lines) underneath the tile back splash.
If you are retiling, you do not want to demo everything underneath your
current tile. Instead, you want to
slowly chisel away the tile only so that you do not have to spend added money
(can get into the thousands of dollars) to fix the backing you demoed.
 When we realized how long it was going to take my
husband to chisel away at all the tile, we decided to use the air chiseler,
which was powered by a compressor. This
worked wonders! However, be cautious because the air chiseler is obviously more
powerful than a hand chiseler and if you are not careful, you could demolish
the backing under your current tile, which you don’t want to do. Again, it can cost thousands of dollars to have a professional come fix that expensive mistake!
When we realized how long it was going to take my
husband to chisel away at all the tile, we decided to use the air chiseler,
which was powered by a compressor. This
worked wonders! However, be cautious because the air chiseler is obviously more
powerful than a hand chiseler and if you are not careful, you could demolish
the backing under your current tile, which you don’t want to do. Again, it can cost thousands of dollars to have a professional come fix that expensive mistake!
While my
husband worked on demoing the current white tile back splash carefully with an air
chiseler, I worked on applying the pre-stain onto the cabinet doors
and drawers that were in the garage. Pre-stain
wood conditioner penetrates the grain of the sanded wood preventing streaks and
blotches ensuring an even, beautiful stain application.
Follow the instructions on the can of pre-stain on how to apply it. Wait about 15 minutes
after applying the pre-stain to apply actual stain. Once the pre-stain dried
for 15 minutes, I began applying the first coat of Minwax Polyshades Espresso
Satin on the doors and drawers.
As my
first coat was drying, I went inside to check on my husband who made significant progress!
 |
Hubby's working on removing the last pieces of tile!
He's almost done! |
Once he
was done demoing the tiles inside, we cleaned up all the surfaces from the dust and construction mess prepping to apply pre-stain and stain on the cabinet frame. Everything nearby had to be wiped off and
cleaned so that any sawdust didn't land on the freshly stained
cabinet frame.
Day 4 (Sunday): As my
husband applied mortar and the new stone back splash to our wall, I applied a
second coat of stain to the doors and drawers in the garage and then applied pre-stain and the first coat of stain to the cabinet frame. This took all day. While not difficult, it was very time consuming with all the back and forth and waiting time. Applying the new stone back splash was fairly easy, although it required lots of precision cuts (around outlets, etc) and specific tools (wet saws can be quite pricey - if you can't buy one, try to find one at a garage sale, or borrow one like we did).
Days 5 & 6 (Monday & Tuesday): After working all day, we came home and continued applying mortar and the new stone back splash, which as mentioned previously, required many precision cuts (again, very time consuming). We also
continued to apply second and third coats of stain waiting 6-8 hours in between
for dry time.
 |
| What a huge difference! It's coming along! |
Once the new stone back splash was intact, we applied
a sealer on the surface of the new stone back splash. Follow all instructions to carefully apply
the sealer only on the surface and not in the grout lines.
 |
| The sealer we used. Yes, it's really called the "impregnator." Ha! |
Day 7: By Day 7, we were done
applying all the stain to the cabinetry and had all the new stone back splash
mortared on. Now it was time to grout! Unbeknownst
to me, grout comes in lots of colors so you do not have to resort to boring
white grout, which actually would've looked horrible with our new stone back splash! We chose a sand colored grout to match our stone back splash. The color is called “haystack”. We also
chose a sanded grout as opposed to a non-sanded grout. Do your research to see what will work best
for the tile you choose. Side Note: I highly recommend talking to specialists and managers at Home Depot. No, not the 18 year old working there for the summer. The specialists and managers that helped us gave us SO many helpful tips, like using the "haystack" grout instead of white grout.
 |
| "Haystack" colored grout from Home Depot |
As my husband
worked on grouting the stone back splash, I worked on the daunting task of
cleaning up. Boy, was that a pain in the ass! Needless to say, it was much
needed. As I mentioned earlier, sawdust
got onto EVERYTHING even after sealing off our kitchen.
This project took my husband and I exactly a week to
complete. It was a LOT of hard work, and incredibly stressful (I’m not going to lie to you and say it was
as easy as they make it seem on TV).
That being said, this is DOABLE and we are incredibly happy with our results!
We did the best we could
being two people with no prior experience doing this kind of work. While we still want to add some final touches
(under cabinet lighting, glass doors on two of our cabinet doors, and
continuing to upgrade our appliances to stainless steel), it is pretty much
done.
That brings us to the BEST PART...
THE REVEAL ….

I think it came out so well!
And best of all...
the cost savings. Talking to people in the real estate and construction business, we got estimates that our a
licensed contractor would have charged roughly $10,000 to get this project done, with much of the cost being for labor. Some as high as $15,000, but some as low as $5000.
We paid approximately $800 for this project, with the bulk of the costs going toward the new stone back splash.
We kept our costs low primarily from doing all of the work ourselves, but also from borrowing some of the larger tools necessary for this project or purchasing them at garage sales. We relied on YouTube, our obsession with the DIY Network and HGTV, remembering tips from new friends we met when our yard was crashed on the DIY's Yard Crashers, and the helpful people at Home Depot. Big thank you to our parents for taking care of our little one all day until we picked him up late at night for a whole week! This would have been impossible with a two year old running around.
It was a LOT of work, but now I'm having a lot of fun accessorizing and decorating :)
If you have questions, post them in the comments section and I’ll do my
best to respond!

 Posts
Posts